
If you’ve ever dreamt of making your own luscious, dreamy cheese right in your kitchen, then this Ultra-Creamy Fresh Homemade Ricotta Recipe is exactly what you’ve been waiting for. I’m telling you, once you try homemade ricotta, store-bought just won’t cut it anymore. It’s silky, fresh, and ridiculously simple — no fancy equipment, just a handful of ingredients and a little patience. Keep reading, because I’m excited to walk you through every step, sharing tips from my own kitchen experiments to help you make ricotta that’s perfectly creamy every single time.
Why You’ll Love This Recipe
- Simplicity at Its Best: Just four main ingredients create something magical without any complicated steps.
- Ultra-Creamy Texture: You’ll be amazed at how silky and fresh homemade ricotta tastes compared to store-bought.
- Versatility: Whether you’re making ravioli, cookies, or a creamy spread, this ricotta fits right in.
- Small Batch Perfect for Any Kitchen: No waste, no special tools—just fresh, homemade goodness.

Ingredients You’ll Need
The magic here is in the simple combo of dairy and acid, and how you bring them together. Starting with the right milk and cream will make a noticeable difference, so pay attention when you’re shopping.
- Whole Milk: Make sure you skip ultra-pasteurized milk because it won’t curdle properly — fresh or pasteurized milk works best.
- Cream: Ultra-pasteurized cream is okay here; it adds richness and smoothness to your ricotta.
- Fine Sea Salt: A subtle pinch enhances the natural milky flavors without overpowering them.
- Fresh Lemon Juice: Strained is key — fresh lemon juice helps the milk separate gently, creating those beautiful curds.
Variations
I love experimenting with this Ultra-Creamy Fresh Homemade Ricotta Recipe by tweaking it to match whatever mood I’m in or what I have on hand. Feel free to make it your own based on taste, texture, or dietary needs!
- Using Vinegar Instead of Lemon Juice: When I’m out of lemon, white or red vinegar works surprisingly well—just a different, slightly sharper tang.
- Herb-Infused Ricotta: Adding fresh herbs like basil or chives after it’s strained makes for a fresh, herby spread perfect for bruschetta.
- Dairy-Free Exploration: While traditional dairy is essential for this recipe’s creamy texture, I’ve seen people try coconut milk blends, but results vary—stick to dairy for best creaminess.
- Double Batch: I once doubled the recipe for a family gathering but learned to strain in batches or use a larger strainer since the curds don’t fit in a small one.
How to Make Ultra-Creamy Fresh Homemade Ricotta Recipe
Step 1: Preparation is Key — Line Your Strainer
Start by lining a fine mesh strainer with a double layer of cheesecloth. Set it over a large, deep bowl so that the whey can drain easily without curds slipping through. This setup is essential for catching those silky curds you’re about to create. I learned the hard way that skipping the cheesecloth lining just means ricotta everywhere — and no one wants to clean that mess later!
Step 2: Heat Your Milk and Cream Gently
In a heavy-bottomed pot (trust me, this helps prevent burning), whisk together your milk, cream, and salt. Slowly bring the mixture to a gentle rolling boil — around 200-206°F (93-97°C) if you’re using a thermometer. I always set a timer once it hits this temperature because the next steps happen fast! Use a wooden spoon to stir in a “figure 8” motion to keep the milk from scorching, which can turn your ricotta bitter. Keep a close eye and be patient here — no rushing!
Step 3: Add Lemon Juice and Let It Curdle
The moment the milk mixture reaches that perfect temperature, remove it from heat and stir in your fresh lemon juice just once or twice to distribute it evenly. Then, stop stirring completely — I know it’s tempting! Let the pot sit undisturbed on the warm burner for 10 minutes. You’ll start to notice small and large curds separating and floating to the surface. This step is where the magic really happens, so trust this pause.
Step 4: Drain and Strain to Your Desired Texture
Using a slotted spoon, gently transfer those delicate curds into your prepared cheesecloth-lined strainer. Let the ricotta drain at room temperature for about 10-15 minutes if you want it light and fluffy. If you prefer it drier and firmer (great for something like a ravioli filling), let it strain longer. Heads-up: when refrigerated, the ricotta firms up a bit, so factor that in when deciding how long to drain.
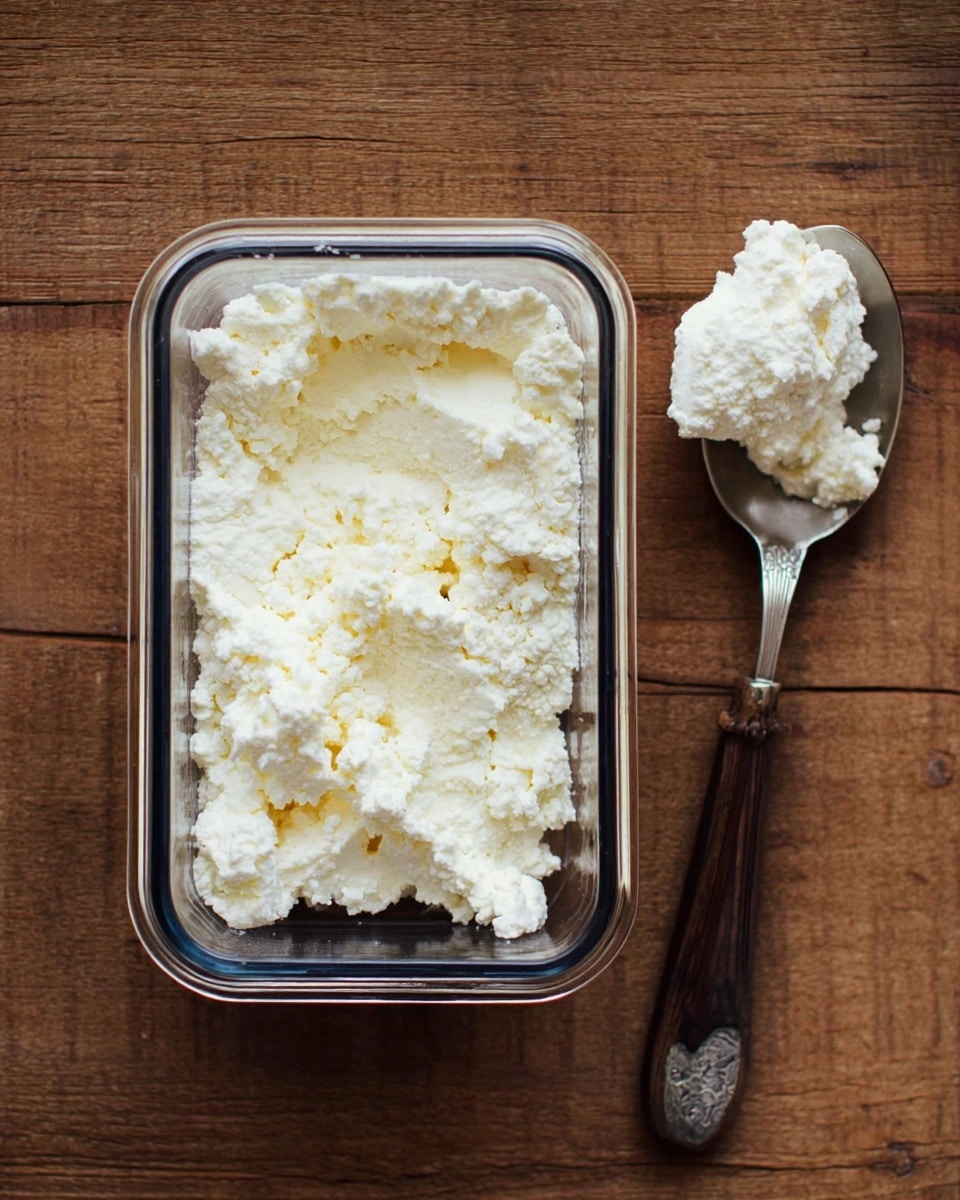
Step 5: Store and Enjoy
Once drained, scoop your fresh ricotta into an airtight container and pop it in the fridge. It keeps beautifully for up to four days, which is perfect for spreading on toast, tossing in pasta, or baking into sweet treats. I love how quick this process is — I usually have fresh ricotta ready while a pot of coffee brews!
Pro Tips for Making Ultra-Creamy Fresh Homemade Ricotta Recipe
- Choose the Right Milk: I learned that ultra-pasteurized milk just won’t curdle properly — always check the label before buying.
- Don’t Rush the Heat: Stir gently and often as you warm the milk to avoid scorching and an off taste.
- Timing Is Everything: Once you add lemon juice, step away—the curdling happens fast, and stirring too much breaks up curds.
- Strainer Setup: Double-layer your cheesecloth to catch all those delicate curds—this little trick saved me from messy losses.
How to Serve Ultra-Creamy Fresh Homemade Ricotta Recipe
Garnishes
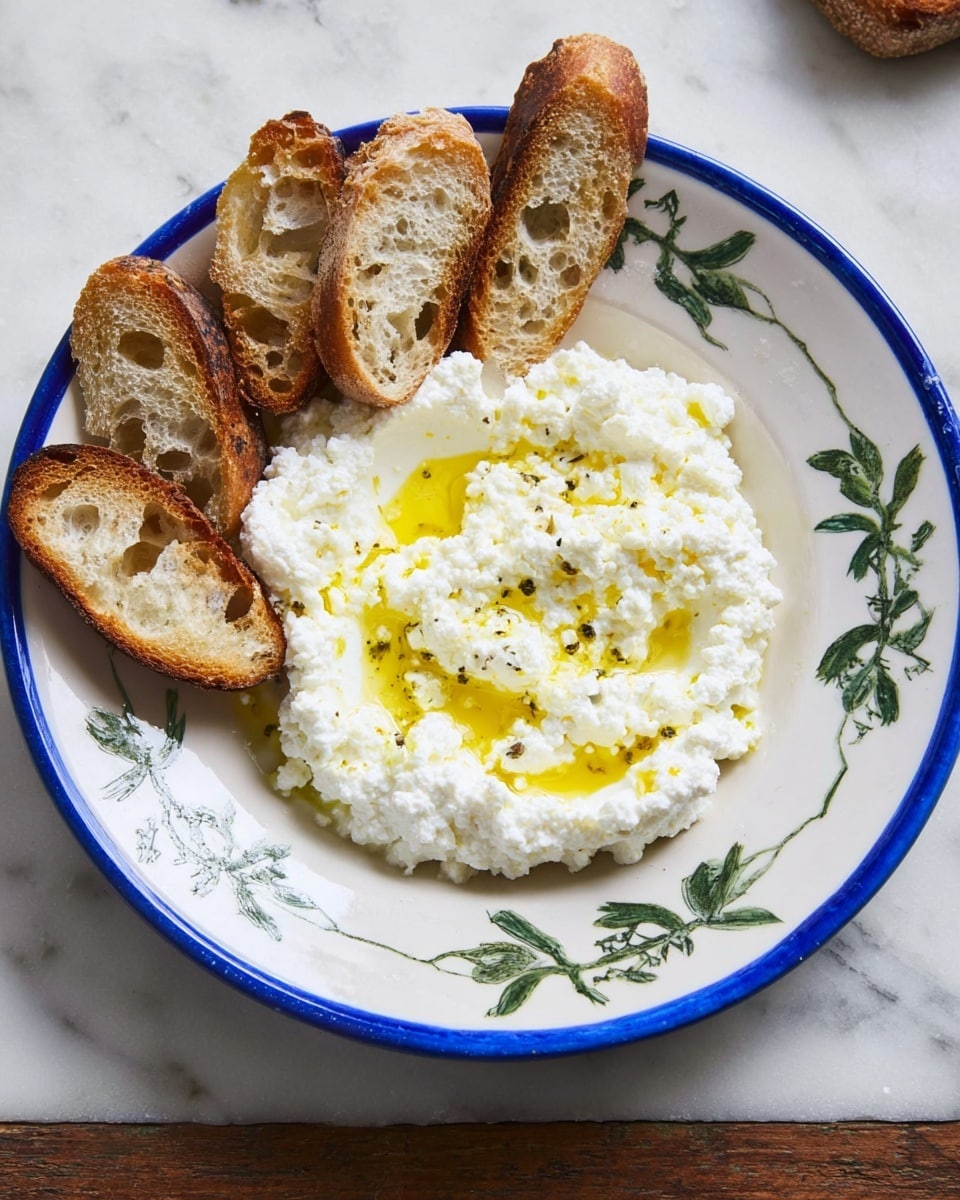
Personally, I adore topping fresh ricotta with a drizzle of good-quality honey and a sprinkle of flaky sea salt. It’s the perfect sweet-and-salty combo that makes a simple snack feel special. Fresh berries or a handful of toasted nuts also add lovely textures and flavors.
Side Dishes
My family often pairs this fresh ricotta with warm, toasted sourdough bread or crispy bruschetta topped with roasted tomatoes and basil. It also shines alongside grilled veggies or nestled inside fresh pasta dishes like ravioli or lasagna.
Creative Ways to Present
For gatherings, I like to serve bowls of ricotta with an array of toppings — from savory olives and herbs to sweet jams and candied citrus peel — so guests can customize their own. Spoon it into little ramekins for a charming, rustic cheese course that always gets compliments.
Make Ahead and Storage
Storing Leftovers
I keep my ricotta in a sealed glass container in the fridge where it stays fresh for up to 4 days. If you see any liquid whey accumulating on top, just give it a gentle stir before serving — it’s totally normal and doesn’t affect the flavor.
Freezing
I usually don’t freeze ricotta because its delicate texture changes after thawing, often becoming grainy. But if you want to keep it longer, freeze in small portions and use it in cooked dishes where texture is less critical, like baked ziti or lasagna.
Reheating
Since I mostly use ricotta cold or gently warmed in recipes, I rarely reheat it directly. If I do, I add it at the end of cooking on low heat to preserve creaminess without curdling the cheese further.
FAQs
-
Can I use low-fat or skim milk for this ricotta recipe?
While you can technically use low-fat or skim milk, the ricotta won’t come out as creamy and rich. Whole milk combined with cream gives that signature ultra-creamy texture and smooth flavor that makes this recipe special.
-
What if my ricotta is too watery?
If your ricotta is watery, you probably didn’t strain it long enough. Simply let it drain longer in the cheesecloth-lined strainer until it reaches your preferred consistency.
-
Why can’t I use ultra-pasteurized milk?
Ultra-pasteurized milk has been heated to higher temperatures, which affects its proteins, preventing proper curdling. This means your ricotta won’t form those lovely curds essential for the right texture.
-
Can I make this recipe dairy-free?
This recipe relies on dairy proteins to curdle, so dairy-free versions won’t set the same way. If you want a dairy-free alternative, look for specialized plant-based ricotta recipes.
-
How do I know when the milk is at the right temperature?
Using a digital kitchen thermometer is ideal. Heat the milk and cream mixture until it reaches about 200-206°F (93-97°C) but avoid a hard boil. You want gentle bubbling around the edges — that’s your cue.
Final Thoughts
I absolutely love how this Ultra-Creamy Fresh Homemade Ricotta Recipe turns out every single time — it’s like a little kitchen miracle that makes any dish shine. When I first tried making ricotta at home, I was nervous about the timing and texture, but after a few tries, I found a rhythm and now I can’t imagine going back to store-bought. I hope you have just as much fun with it as I do — and enjoy that velvety smooth ricotta on your favorite recipes. Give it a shot, your taste buds will thank you!
Print
Ultra-Creamy Fresh Homemade Ricotta Recipe
- Prep Time: 25 minutes
- Cook Time: 10 minutes
- Total Time: 35 minutes
- Yield: 1, 1 heaping cup (265 g)
- Category: Dairy
- Method: Stovetop
- Cuisine: Italian
- Diet: Vegetarian
Description
This ultra-creamy homemade ricotta is a simple, 4-ingredient recipe that yields fresh, soft ricotta cheese perfect for a variety of dishes. Made with whole milk, cream, lemon juice, and salt, this fresh ricotta is ready in under an hour and has a delicate, fluffy texture. Ideal for use in recipes like cookies, ravioli filling, or served fresh with bread.
Ingredients
Milk & Cream
- 3 cups whole milk (DO NOT USE ultra-pasteurized milk)
- 1 cup cream (ultra-pasteurized is fine)
Flavorings
- 1/4 tsp fine sea salt
- 2 tbsp fresh lemon juice, strained (white or red vinegar can be used as a substitute)
Instructions
- Prepare strainer: Line a fine mesh strainer with a double layer of cheesecloth and set it over a large, deep bowl to collect the draining whey.
- Heat milk mixture: In a heavy bottom pot, combine milk, cream, and salt. Heat over medium-high, stirring frequently in a figure 8 motion with a wooden spoon to prevent scorching, until the mixture reaches a gentle rolling boil (200-206°F / 93-97°C) with frothy bubbles along the sides and larger bubbles in the center.
- Add acid and curdle: Immediately stir in the lemon juice only once or twice to distribute, then turn off the heat. Do not stir further; allow the mixture to sit untouched on the warm burner for 10 minutes, during which the curds will form and float to the surface.
- Drain curds: Using a slotted spoon, transfer the curds carefully into the prepared cheesecloth-lined strainer. Let the ricotta drain at room temperature for 10-15 minutes for a light, fluffy texture; extend draining time for a firmer consistency.
- Store ricotta: Transfer the strained ricotta to an air-tight container and refrigerate. It will firm slightly as it chills. Consume within 4 days for best freshness.
Notes
- This recipe produces about 1 heaping cup (265g) of ricotta, perfect for small batch needs with minimal waste.
- Using non ultra-pasteurized whole milk is crucial for proper curdling.
- If doubling the recipe, drain in batches or use multiple strainers, as a standard 7-8 inch strainer won’t accommodate the increased volume.
- Straining time affects texture: shorter for creamy and soft, longer for drier ricotta.
- The method is adapted from a trusted American Sfoglino recipe and designed for easy home preparation.
Nutrition
- Serving Size: 1/4 cup (65g)
- Calories: 120
- Sugar: 2g
- Sodium: 75mg
- Fat: 10g
- Saturated Fat: 6g
- Unsaturated Fat: 3g
- Trans Fat: 0g
- Carbohydrates: 2g
- Fiber: 0g
- Protein: 5g
- Cholesterol: 40mg


